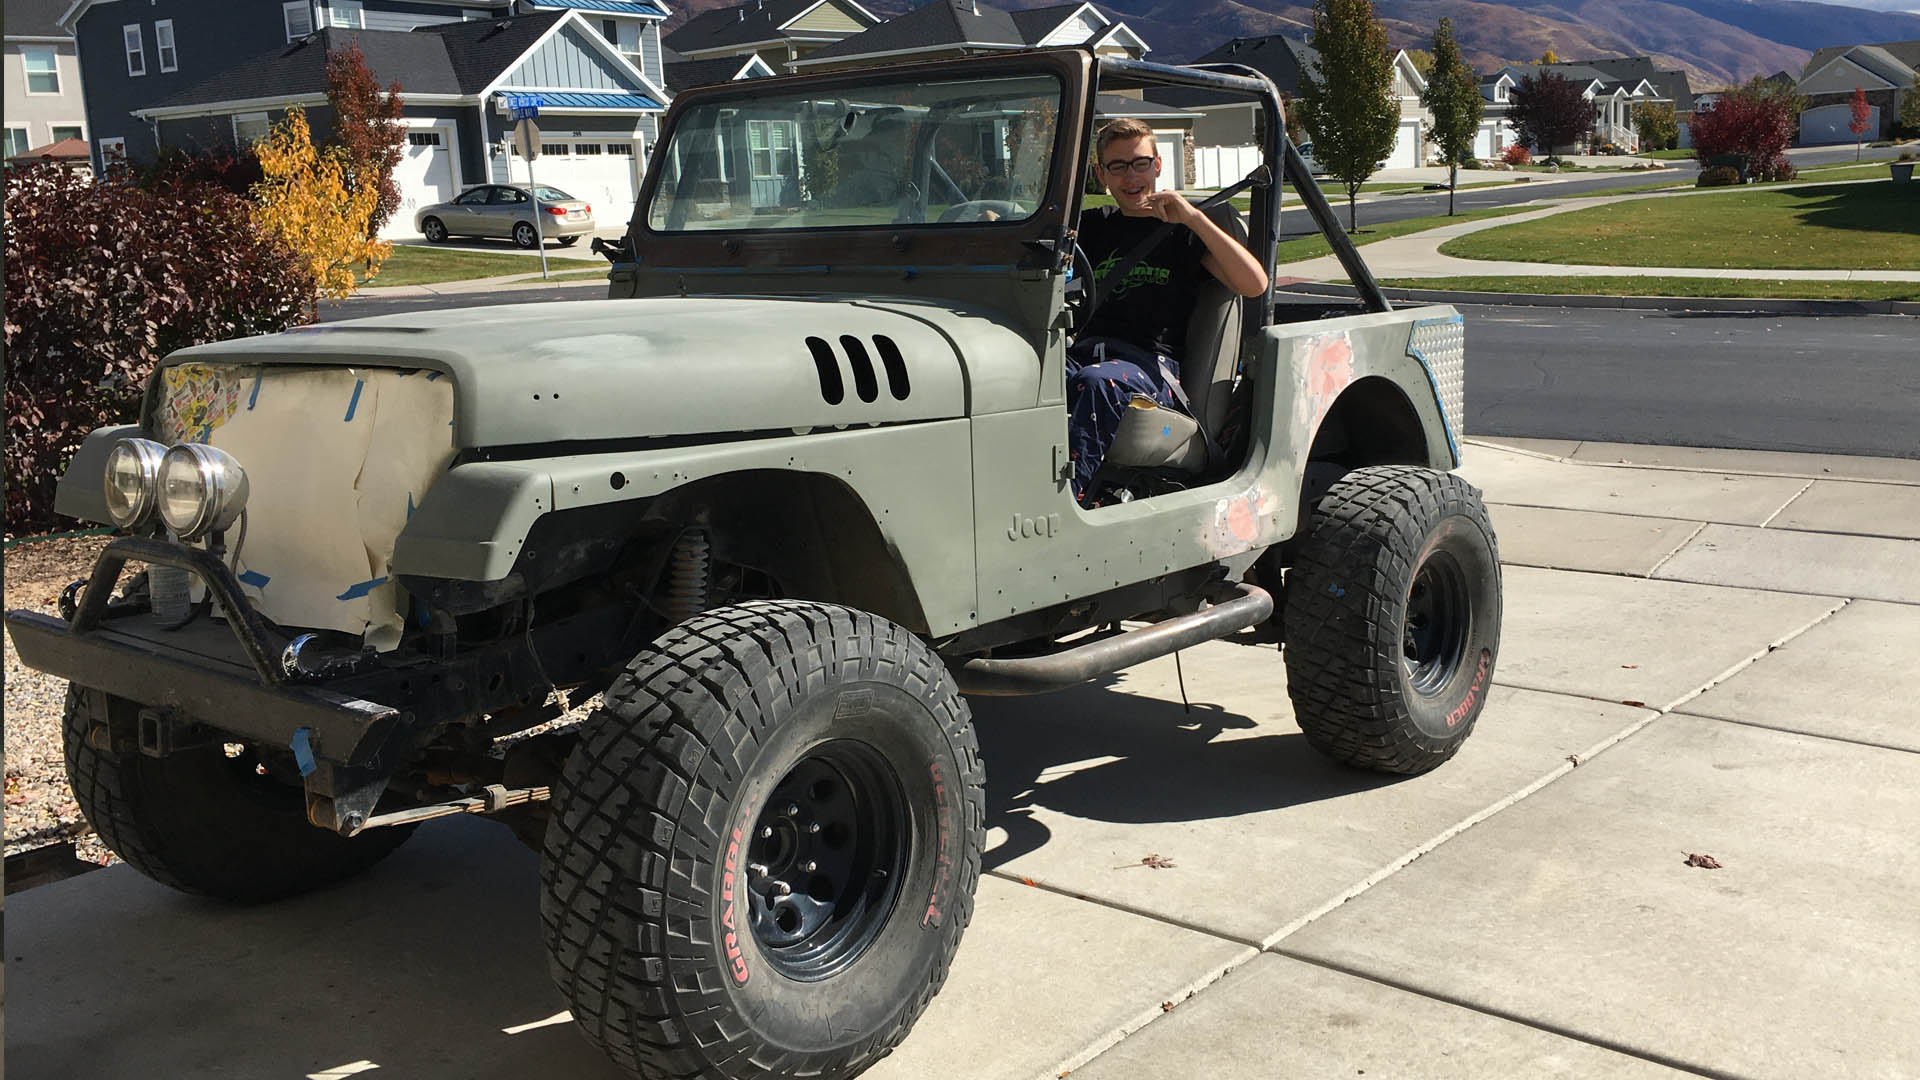
The progress on the KZYJ is heading along at what feels like a snails pace. Over the past two years I’ve completed a V8 conversion and and am just getting ready to wrapping up a paint job. I’ve done a terrible job of documenting the process. I found it extremely difficult in this case to be on both sides of the camera. Mostly because, this journey of building my YJ has been a true learning experience.
So rather than jumping in and out of the camera, I just focused on learning and doing. Once I’m done with paint, I’ll take the ol Jeep out and do a solid walk around with details on what I’ve done. I’ll highlight my successes and my struggles, and I’ll talk about what I’m going to do next.
But one of the intermediary steps I took before committing to paint was to put in some hood vents to aid in airflow for the Chevy 350 TBI that now lives under the hood.. I’d seen a few JK vents that inspired me. There really wasn’t much documentation out there as far as custom hood vents for the YJ. I’m not sure if builders aren’t posting their creations or few are making these kinds of mods for the YJ to help with V8 air flow.
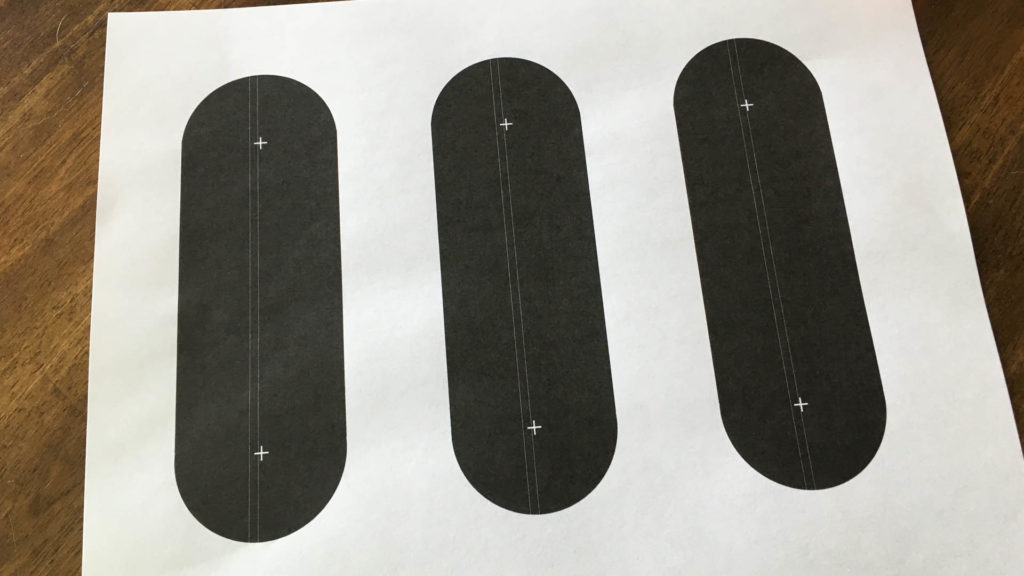
There were some hood top louvers that you could get, but I’ve never been a huge louver fan. So I chose to cut this simple gill design into the hood. I started with a template that I designed in Photoshop, then placed the design on the hood to plan the placement.
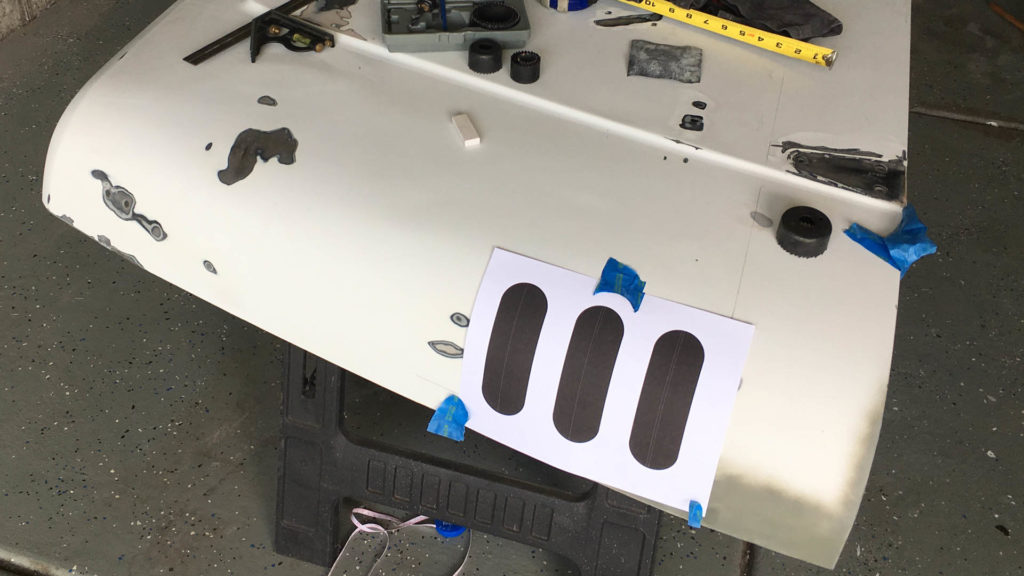

The placement of the holes took into account the hood brace. So I placed the vent holes just forward of that brace.
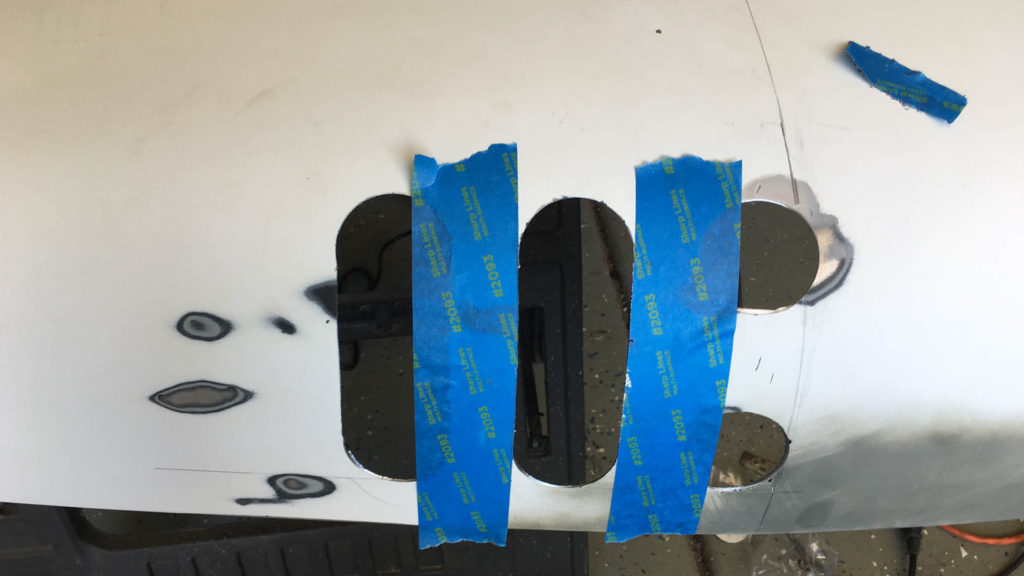
Then once I was happy with the location, I began making the cuts. I used a nail and a light tap to mark the centers of the top and bottom circle. This gave me a visual as to where to start making the round cuts.
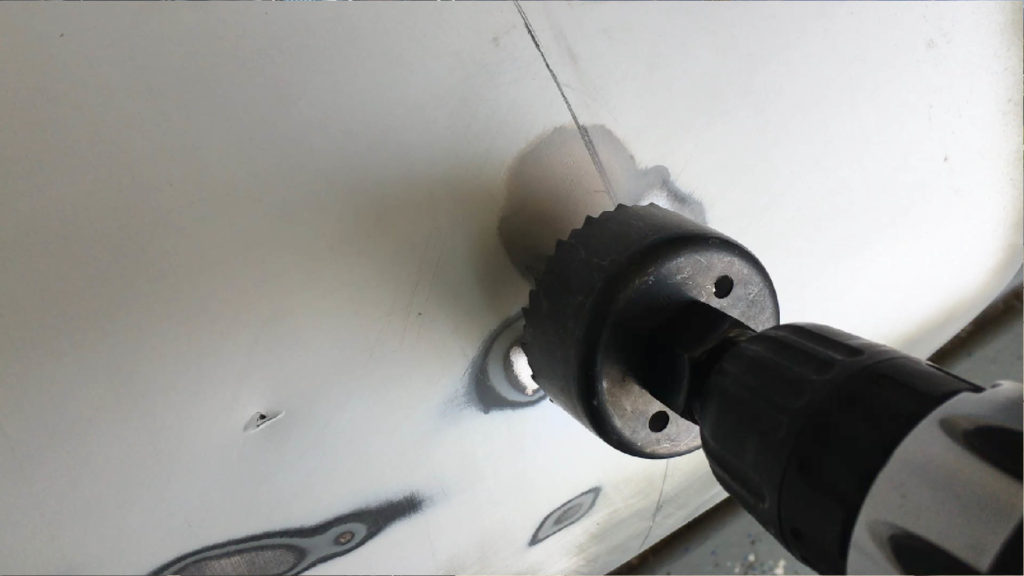
I cut the top and bottom using a round hole saw. I then used blue painters tape to “draw” a line between the top and bottom hole. This gave me a guide to cut. I used a jig saw with a metal cutting blade to remove the middle.
After a touch of filing to smooth the edges I shot a bit of primer to bet a good look at what I’d created.
Prepping for Paint
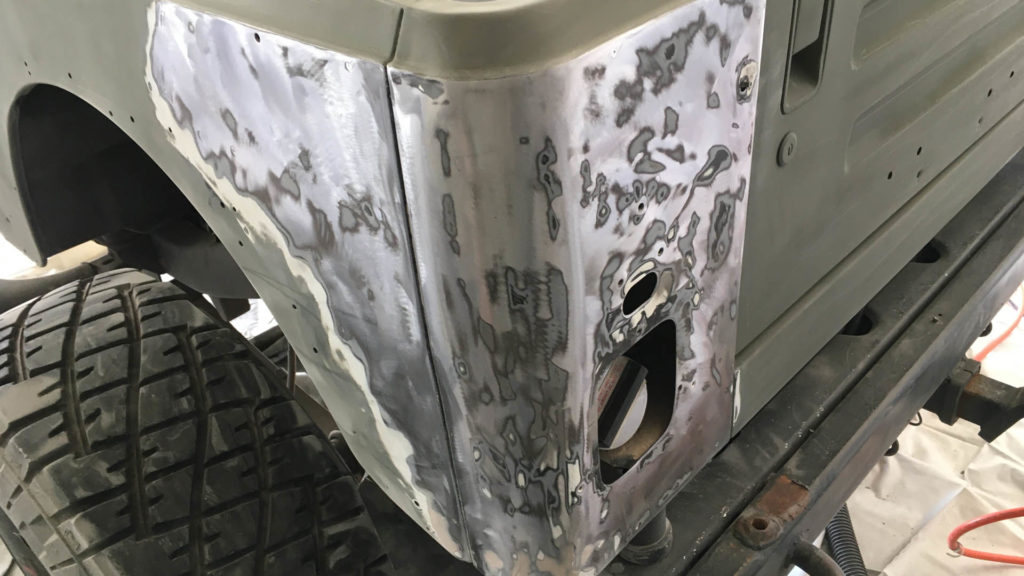
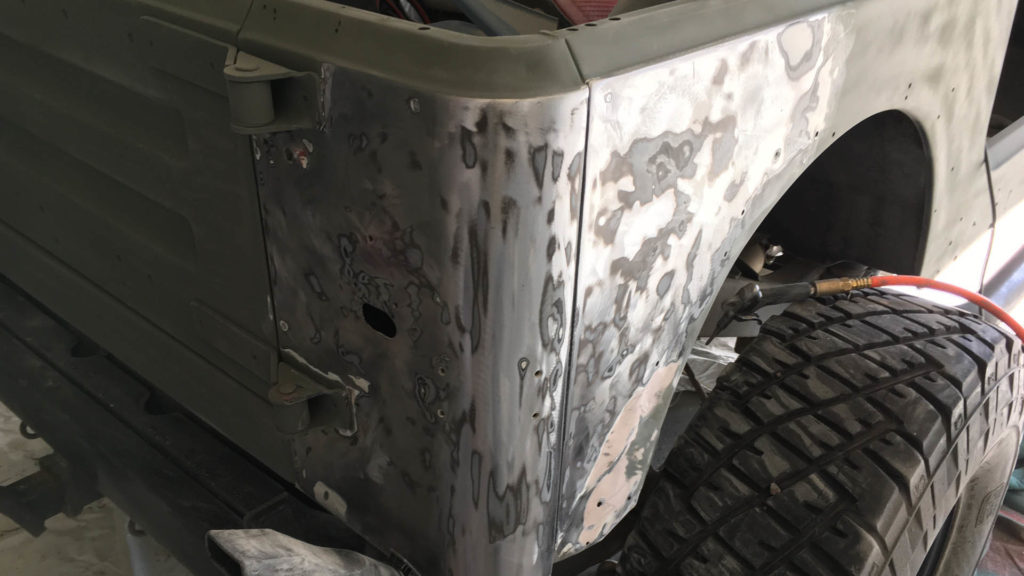
The next step was to get ready for paint. I had anticipated just doing a quick sand, then shoot new color over the old paint. That idea changed when, while trying to sand down a couple chips. Rather than smoothing, I had large chunks of paint continue to chip off, and hidden bubbles began proving the original paint was a terrible. So I commenced power sanding the hood, then large swaths of the tub.
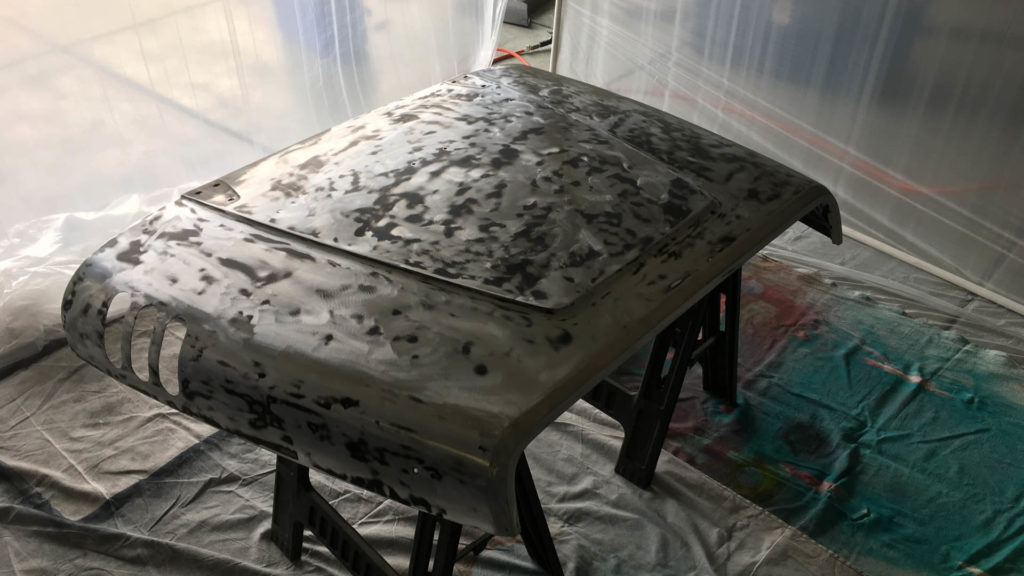

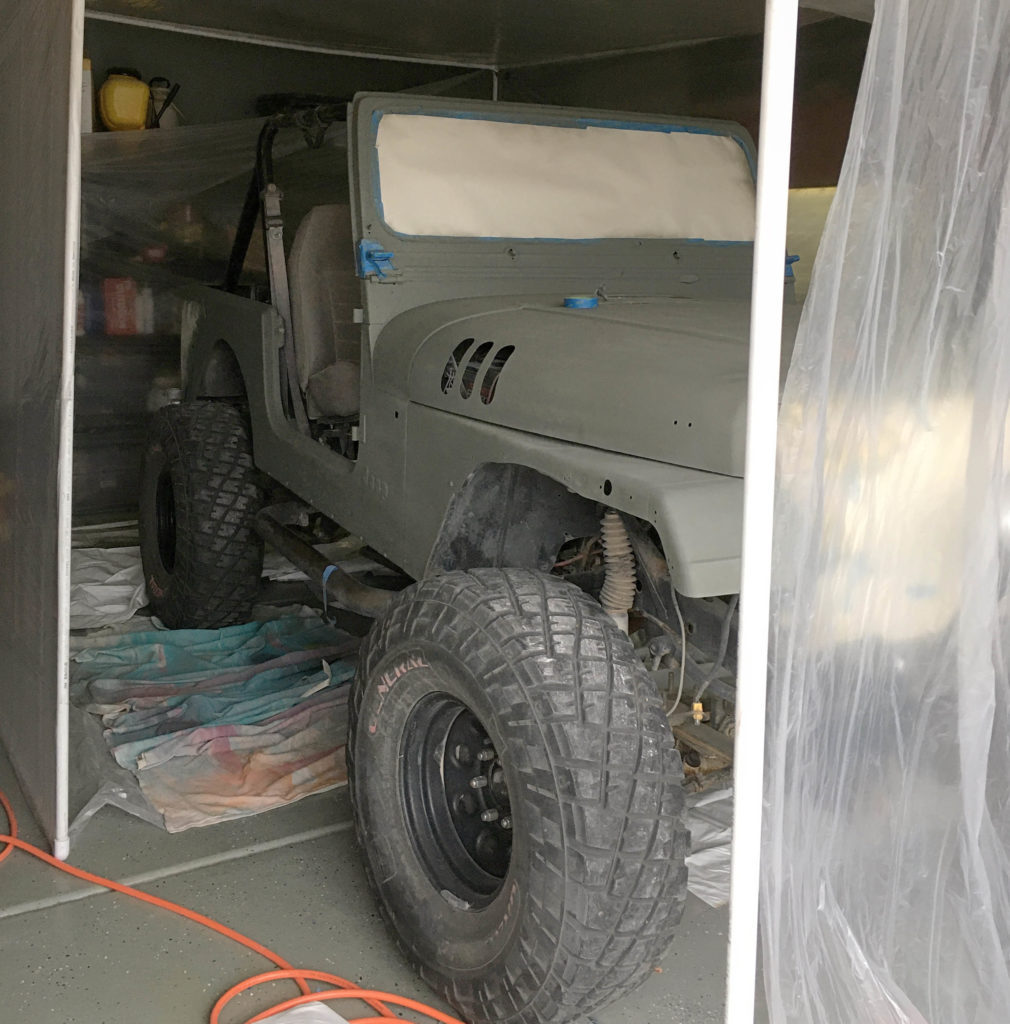
Now I’ve got it all in primer and with the exception of a few areas of spot putty to smooth out a few dings, the tub is also nearly prepped for paint.
I’ll get more photos and an update as the painting commences. And Then I’ll share it and you can let me know what you think.